
Discover how to built a modern and professional loading screen using HTML, CSS and JavaScript. This complete tutorial includes full source code with a responsive layout, animated progress indicators, and a smooth transition to your main website. You will learn how to build a fully functional preloader with a gradient logo, live status messages, and animated loading dots all designed to enhance your website’s appearance and improve the user experience from the very first second.
Introduction
Welcome to this tutorial on how to create a modern and responsive loading screen using HTML, CSS and JavaScript. If you are building a personal portfolio or a business website this project will help you to build a clean and easy to use loading screen that gives a great first impression.
In this tutorial we will learn how to create a smooth layout with animated dots, changing status messages and a colorful logo. We will also show you how to use Flexbox to make sure your design works well on all screen sizes from phones to desktops.
This project is great for beginners and experienced developers who want to make a simple stylish loading screen that looks good and improves the user experience.
Requirements to Build the Loading Screen
Basic Knowledge of HTML & CSS
– Understand how to create HTML structure.
– Know how to style with CSS (colors, fonts, layout).
– Basic JavaScript to handle loading progress, animations and switching views.
Text Editor
– Use any code editor like VS Code, Sublime Text or Notepad++
Web Browser
– Chrome, Firefox, Edge, or any browser to preview your work.
Setup
- Project name(loader).
- index.html
- style.css and
- Main.js
Let’s go we start
Html Code
Open the Index.html file and paste the code shown below
<!DOCTYPE html>
<!--Created by CodeWeave24-->
<html lang="en">
  <head>
    <meta charset="UTF-8" />
    <meta name="viewport" content="width=device-width, initial-scale=1.0" />
    <title>CodeWeave24 - Loading</title>
    <link rel="stylesheet" href="style.css" />
  </head>
  <body>
    <div class="loading-content" id="loadingScreen">
      <div class="logo">CodeWeave</div>
      <div class="loading-container">
        <div class="status" id="statusText">Initializing</div>
        <div class="loading-dots">
          <div class="dot"></div>
          <div class="dot"></div>
          <div class="dot"></div>
        </div>
        <div class="progress-text" id="progressText">0%</div>
      </div>
    </div>

    <iframe id="websiteFrame" src="https://codeweave24.com/"></iframe>
    <script src="main.js"></script>
  </body>
</html>
Explaination
<meta charset="UTF-8" />This set the character type to make sure all symbols and letters show correctly.
<meta name="viewport" content="width=device-width, initial-scale=1.0" />This makes sure your page looks great on all screen sizes.
<title>CodeWeave24 - Loading</title>This is the name that shows in the browser tab.
<link rel="stylesheet" href="style.css" />This connects your CSS file, where all the styling is written (like colors, fonts and layout).
<div class="loading-content" id="loadingScreen">This is the box that holds everything in the loading screen.
<div class="loading-container">
        <div class="status" id="statusText">Initializing</div>
        <div class="loading-dots">
          <div class="dot"></div>
          <div class="dot"></div>
          <div class="dot"></div>
        </div>
        <div class="progress-text" id="progressText">0%</div>
      </div>
This shows the loading status and animation.
- statusText: Shows text like “Initializing”, “Loading…”, etc.
- loading-dots: Has 3 animated dots that move to show progress.
- progressText: Shows how much loading is done (like 0%, 50%, 100%).
<iframe id="websiteFrame" src="https://codeweave24.com/"></iframe>This loads your actual website in the background (like a window inside the page).
<script src="main.js"></script>This connects your JS file.
CSS Code
Open style.css file and paste the code shown bellow.
:root {
  --primary-color: #6c5ce7;
  --secondary-color: #a29bfe;
  --accent-color: #00cec9;
  --text-color: #2d3436;
}

body {
  margin: 0;
  padding: 0;
  height: 100vh;
  display: flex;
  flex-direction: column;
  justify-content: center;
  align-items: center;
  background-color: #f9f9f9;
  font-family: 'Segoe UI', Tahoma, Geneva, Verdana, sans-serif;
  color: var(--text-color);
  overflow: hidden;
}

.loading-content {
  text-align: center;
  transition: opacity 0.5s ease;
}

.logo {
  font-size: 2.5rem;
  font-weight: 700;
  margin-bottom: 1.5rem;
  background: linear-gradient(
    135deg,
    var(--primary-color),
    var(--accent-color)
  );
  -webkit-background-clip: text;
  background-clip: text;
  color: transparent;
  position: relative;
}

.logo::after {
  content: '24';
  font-size: 1.2rem;
  position: absolute;
  top: -0.5rem;
  right: -1.2rem;
  color: var(--accent-color);
}

.loading-container {
  display: flex;
  align-items: center;
  justify-content: center;
  margin-top: 1rem;
}

.loading-dots {
  display: flex;
  align-items: center;
  justify-content: center;
  gap: 6px;
  margin: 0 10px;
}

.dot {
  width: 8px;
  height: 8px;
  border-radius: 50%;
  background-color: var(--primary-color);
  opacity: 0.3;
  animation: dot-pulse 1.4s infinite ease-in-out;
}

.dot:nth-child(1) {
  animation-delay: 0s;
}

.dot:nth-child(2) {
  animation-delay: 0.2s;
}

.dot:nth-child(3) {
  animation-delay: 0.4s;
}

@keyframes dot-pulse {
  0%,
  100% {
    transform: scale(0.8);
    opacity: 0.3;
  }
  50% {
    transform: scale(1.2);
    opacity: 1;
    background-color: var(--accent-color);
  }
}

.status {
  font-size: 1rem;
  color: #636e72;
  display: flex;
  align-items: center;
}

.progress-text {
  font-size: 0.8rem;
  color: var(--primary-color);
  font-weight: 500;
}

iframe {
  width: 100%;
  height: 100vh;
  border: none;
  opacity: 0;
  transition: opacity 0.5s ease;
  position: absolute;
  top: 0;
  left: 0;
}

.show {
  opacity: 1;
}

.hide {
  opacity: 0;
  pointer-events: none;
}
Explaination
:root {
  --primary-color: #6c5ce7;
  --secondary-color: #a29bfe;
  --accent-color: #00cec9;
  --text-color: #2d3436;
}
These are CSS variables. they are reusable color codes that makes your styling cleaner and easier to update.
body {
  margin: 0;
  padding: 0;
  height: 100vh;
  display: flex;
  flex-direction: column;
  justify-content: center;
  align-items: center;
  background-color: #f9f9f9;
  font-family: 'Segoe UI', Tahoma, Geneva, Verdana, sans-serif;
  color: var(--text-color);
  overflow: hidden;
}
This styles the whole page:
- Removes space around the edges (margin: 0).
- Makes the layout fill the whole screen (height: 100vh).
- Centers everything in the middle of the screen (flex, center).
- Sets a light background.
- Uses a clean, modern font.
- Prevents scrolling (overflow: hidden).
.loading-content {
  text-align: center;
  transition: opacity 0.5s ease;
}
This centers the loading content and makes it fade in/out smoothly.
.logo {
  font-size: 2.5rem;
  font-weight: 700;
  margin-bottom: 1.5rem;
  background: linear-gradient(
    135deg,
    var(--primary-color),
    var(--accent-color)
  );
  -webkit-background-clip: text;
  background-clip: text;
  color: transparent;
  position: relative;
}
This styles the “CodeWeave” text:
- Makes it big and bold.
- Gives it a colorful gradient effect.
- Uses a trick to show the gradient inside the text only.
.logo::after {
  content: '24';
  font-size: 1.2rem;
  position: absolute;
  top: -0.5rem;
  right: -1.2rem;
  color: var(--accent-color);
}
This adds the small ’24’ next to the logo using CSS only no extra HTML needed.
.loading-container {
  display: flex;
  align-items: center;
  justify-content: center;
  margin-top: 1rem;
}
This makes sure the dots, status text and percent line up nicely.
.loading-dots {
  display: flex;
  align-items: center;
  justify-content: center;
  gap: 6px;
  margin: 0 10px;
}

.dot {
  width: 8px;
  height: 8px;
  border-radius: 50%;
  background-color: var(--primary-color);
  opacity: 0.3;
  animation: dot-pulse 1.4s infinite ease-in-out;
}
Each dot:
- Is a small circle (border-radius: 50%).
- Fades and grows using animation.
- The gap adds space between dots.
.dot:nth-child(1) {
  animation-delay: 0s;
}

.dot:nth-child(2) {
  animation-delay: 0.2s;
}

.dot:nth-child(3) {
  animation-delay: 0.4s;
}
These make the dots animate one after another, not all at once like a “typing” effect.
@keyframes dot-pulse {
  0%,
  100% {
    transform: scale(0.8);
    opacity: 0.3;
  }
  50% {
    transform: scale(1.2);
    opacity: 1;
    background-color: var(--accent-color);
  }
}
This defines how the dot animation works:
- It grows bigger, gets brighter in the middle, then shrinks back.
.status {
  font-size: 1rem;
  color: #636e72;
  display: flex;
  align-items: center;
}

.progress-text {
  font-size: 0.8rem;
  color: var(--primary-color);
  font-weight: 500;
}
These style the text that shows:
- Status message (like “Initializing”).
- Percentage (like “50%”).
iframe {
  width: 100%;
  height: 100vh;
  border: none;
  opacity: 0;
  transition: opacity 0.5s ease;
  position: absolute;
  top: 0;
  left: 0;
}
The <iframe> holds your actual website:
- It fills the whole screen.
- Starts hidden (opacity: 0).
- Fades in smoothly when shown.
.show {
  opacity: 1;
}

.hide {
  opacity: 0;
  pointer-events: none;
}
These are used by JavaScript to:
- Show the iframe (.show).
- Hide the loading screen (.hide).
JS Code
Open main.js file and paste the code shown bellow.
// loading progress
const progressText = document.getElementById('progressText')
const statusText = document.getElementById('statusText')
const loadingScreen = document.getElementById('loadingScreen')
const websiteFrame = document.getElementById('websiteFrame')

let progress = 0
const statusMessages = [
  { text: 'Initializing system', progress: 10 },
  { text: 'Loading components', progress: 25 },
  { text: 'Optimizing performance', progress: 45 },
  { text: 'Preparing workspace', progress: 65 },
  { text: 'Almost there', progress: 85 },
  { text: 'Ready to weave', progress: 100 },
]

const loadingInterval = setInterval(() => {
  // Increment progress
  progress += Math.floor(Math.random() * 5) + 1
  if (progress > 100) progress = 100
  progressText.textContent = `${progress}%`

  // Update status message based on progress
  for (const message of statusMessages) {
    if (progress <= message.progress) {
      statusText.textContent = message.text
      break
    }
  }

  // loading completes
  if (progress === 100) {
    clearInterval(loadingInterval)

    // Show website and Hide loading screen
    setTimeout(() => {
      loadingScreen.classList.add('hide')
      websiteFrame.classList.add('show')

      // Focus the iframe
      setTimeout(() => {
        try {
          websiteFrame.contentWindow.focus()
        } catch (e) {
          // frame security exception
        }
      }, 100)
    }, 800) // delay before transition
  }
}, 100)

websiteFrame.onload = function () {
}
Explanation
1. Get the elements from the HTML:
const progressText = document.getElementById('progressText')
const statusText = document.getElementById('statusText')
const loadingScreen = document.getElementById('loadingScreen')
const websiteFrame = document.getElementById('websiteFrame')
These lines connected the JavaScript to your HTML. You are grabbing elements by their “id” so you can change their style.
2. Set up progress and messages
let progress = 0
const statusMessages = [
  { text: 'Initializing system', progress: 10 },
  { text: 'Loading components', progress: 25 },
  { text: 'Optimizing performance', progress: 45 },
  { text: 'Preparing workspace', progress: 65 },
  { text: 'Almost there', progress: 85 },
  { text: 'Ready to weave', progress: 100 },
]- progress starts at 0 (like 0%).
- statusMessages is a list of messages that appear as loading goes up.
For example:
- At 10% it says “Initializing system”.
- At 100% it says “Ready to weave”.
3. Start a timer
const loadingInterval = setInterval(() => {This code runs every 100 milliseconds.It keeps updating the progress into 100%.
4. Increase the progress
progress += Math.floor(Math.random() * 5) + 1This line randomly adds 1 to 5% to the progress to make it feel more natural.
if (progress > 100) progress = 100Make sure it never goes over 100%.
progressText.textContent = `${progress}%`Updates the number shown on the screen.
5. Update the message
 for (const message of statusMessages) {
    if (progress <= message.progress) {
      statusText.textContent = message.text
      break
    }
  }
This checks your list of messages and shows the right message based on how far along the progress is.
6. Finish loading
  if (progress === 100) {
    clearInterval(loadingInterval)
When the progress hits 100%, stop the timer.
setTimeout(() => {
   loadingScreen.classList.add('hide')
   websiteFrame.classList.add('show')
- After a short delay (800ms), hide the loading screen.
- Show your real website by changing its CSS class (show).
setTimeout(() => {
        try {
          websiteFrame.contentWindow.focus()
        } catch (e) {
        }
      }, 100)
    }, 800)
}, 100)
This tries to focus the iframe (optional).
Sometimes this won’t work if the site is from another domain, which is okay.
7. When the website finishes loading
websiteFrame.onload = function () {}This function runs when the website inside the iframe finishes loading.
It’s empty for now, but you could add a message or extra animation here later.
Output

Conclusion
This project is not only about adding a progress bar or a few loading dots it is about creating a website experience that feels smooth and professional from the start.
Small things like animated text, changing status messages and a clean transition from the loading screen to the actual website might seem simple but they make a big difference in how your site looks and feels. It is all about making your page look good, work on all screen sizes and respond well to the user.
If you are learning web development this is a great project to practice. You get to use HTML, CSS and JavaScript together to build something that’s both useful and visually engaging.
1 comment
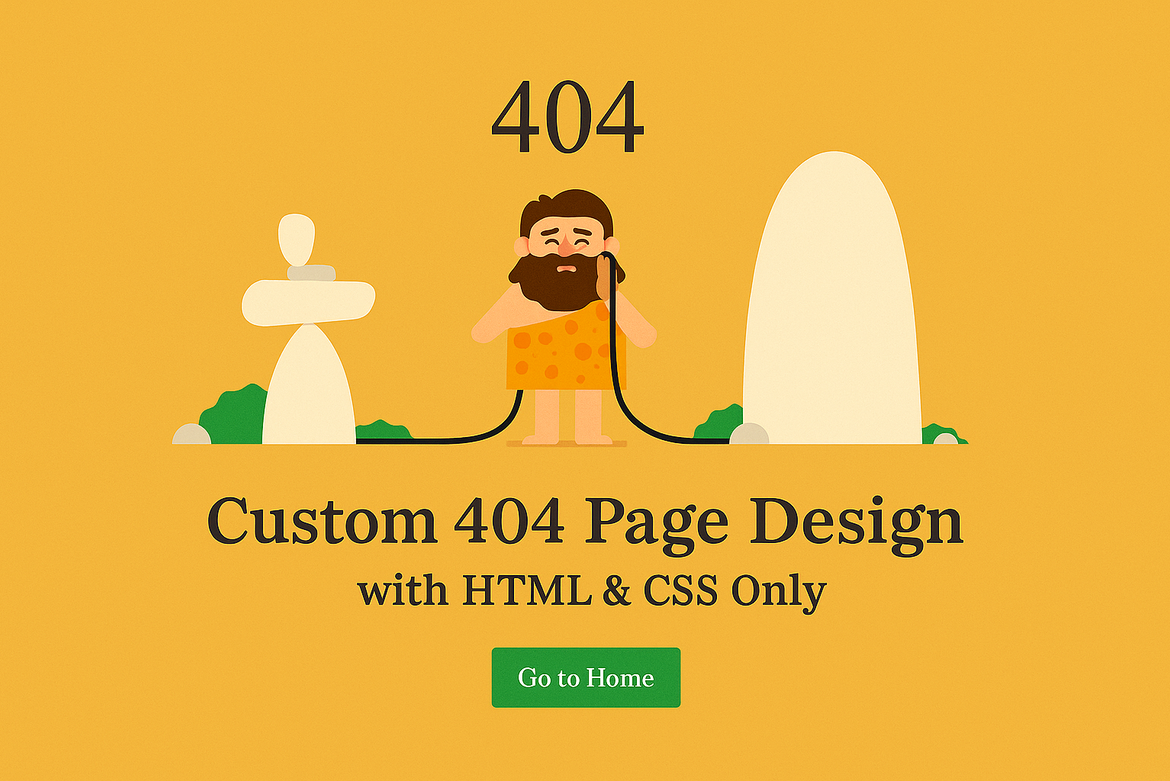
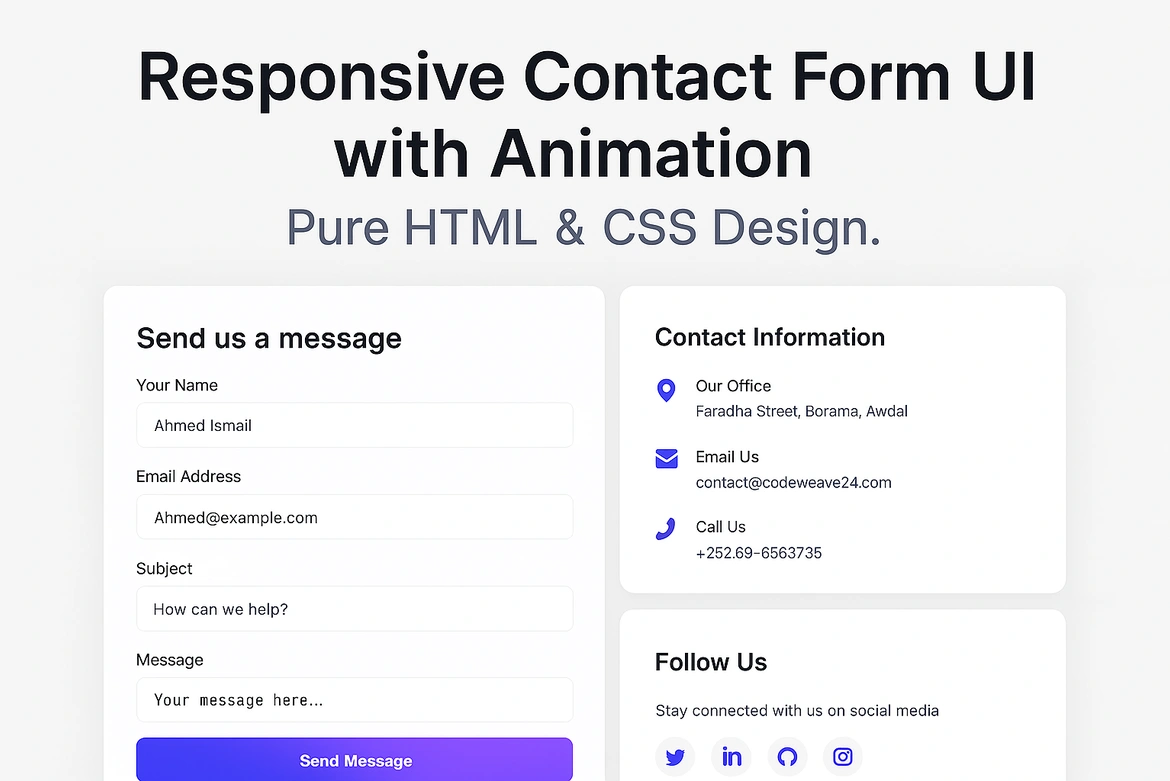
[…] You Can’t Afford… 8 Essential Chrome Extensions That Revolutionize Productivity, Design… Animated Loading Screen with Progress and Smooth Page… Custom 404 Page Design with HTML & CSS… Responsive Contact Form UI with Animation | Pure… […]